

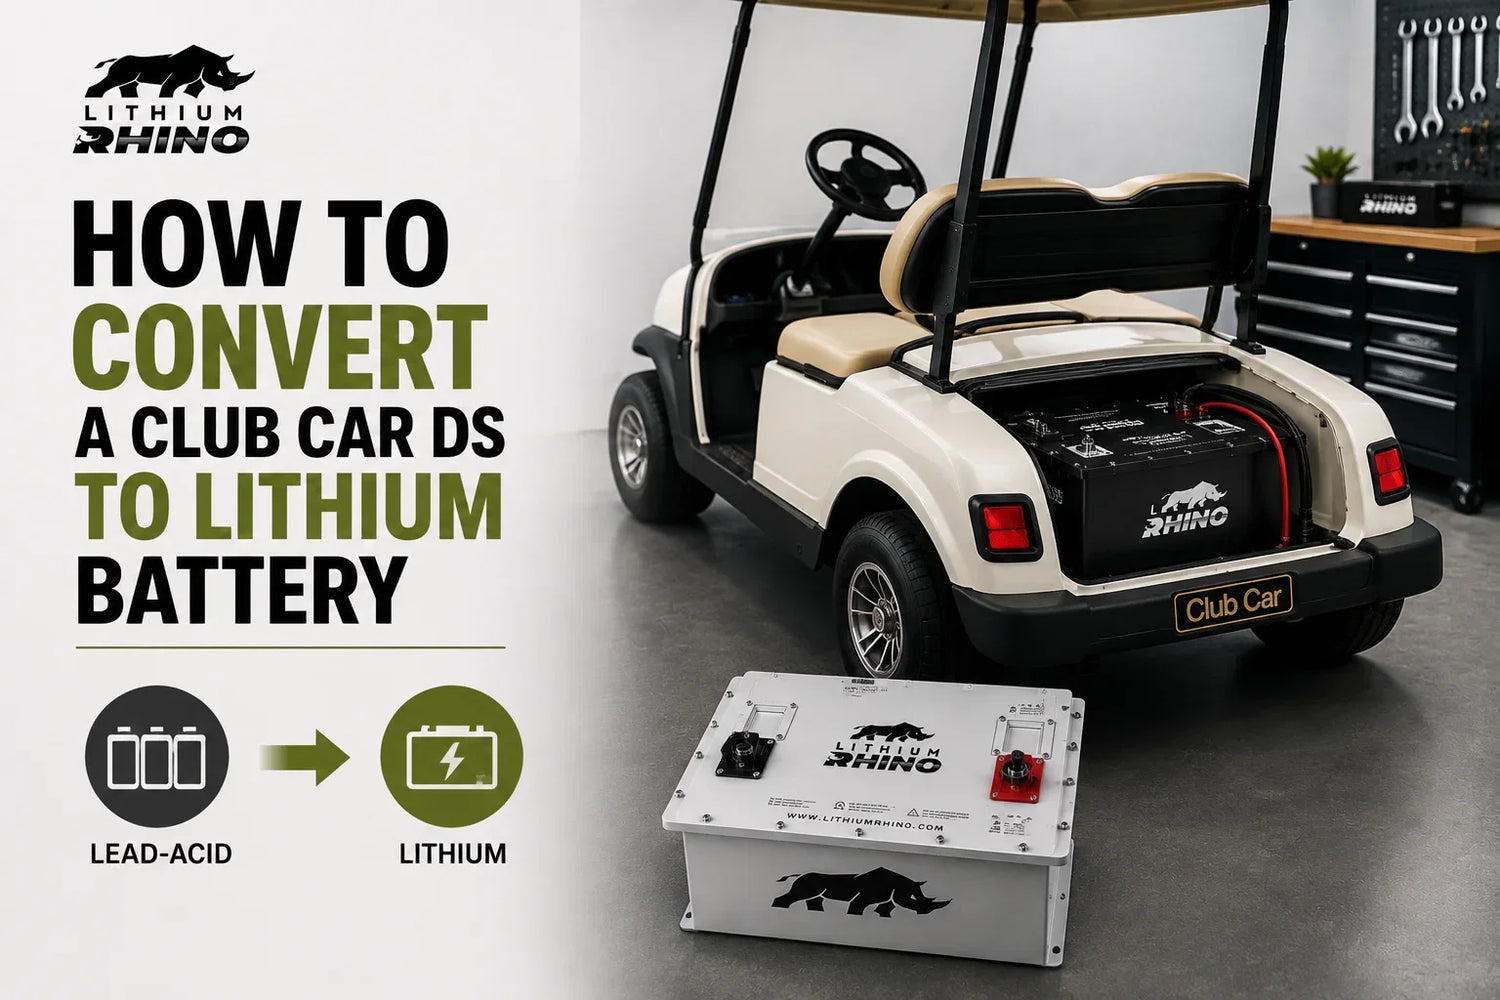
Converting a Club Car DS to lithium comes down to three things: confirming whether your DS runs 36V or 48V, removing the factory lead-acid pack from the tray, and installing a single drop-in lithium battery sized to match. Most DS owners finish the swap in under two hours, and unlike the Precedent, the DS battery tray is open and flat, so there's no plastic divider cutting involved.
The DS is Club Car's longest-produced model, built from 1981 through today, which means "convert my Club Car DS to lithium" isn't a one-size-fits-all question. A 1995 DS and a 2007 DS don't share the same voltage, charger, or controller, and getting that wrong before you buy a battery is the single most common mistake DS owners make. This guide walks through exactly how to identify what you have, then how to convert it.
If you're still deciding whether it's time, see Signs Your Lead-Acid Batteries Are Failing for the warning signs worth acting on before a full breakdown.
Step 1: Identify Your Club Car DS Voltage and Style
Before anything else, figure out which DS you actually own. Club Car built the DS across three distinct electrical generations, and they are not interchangeable.
| DS Generation | Model Years | Voltage | Stock Configuration | Controller |
|---|---|---|---|---|
| DS Old Style | 1981 to 2000 | 36V | Six 6V batteries | Basic resistor or early electronic (non-OBC) |
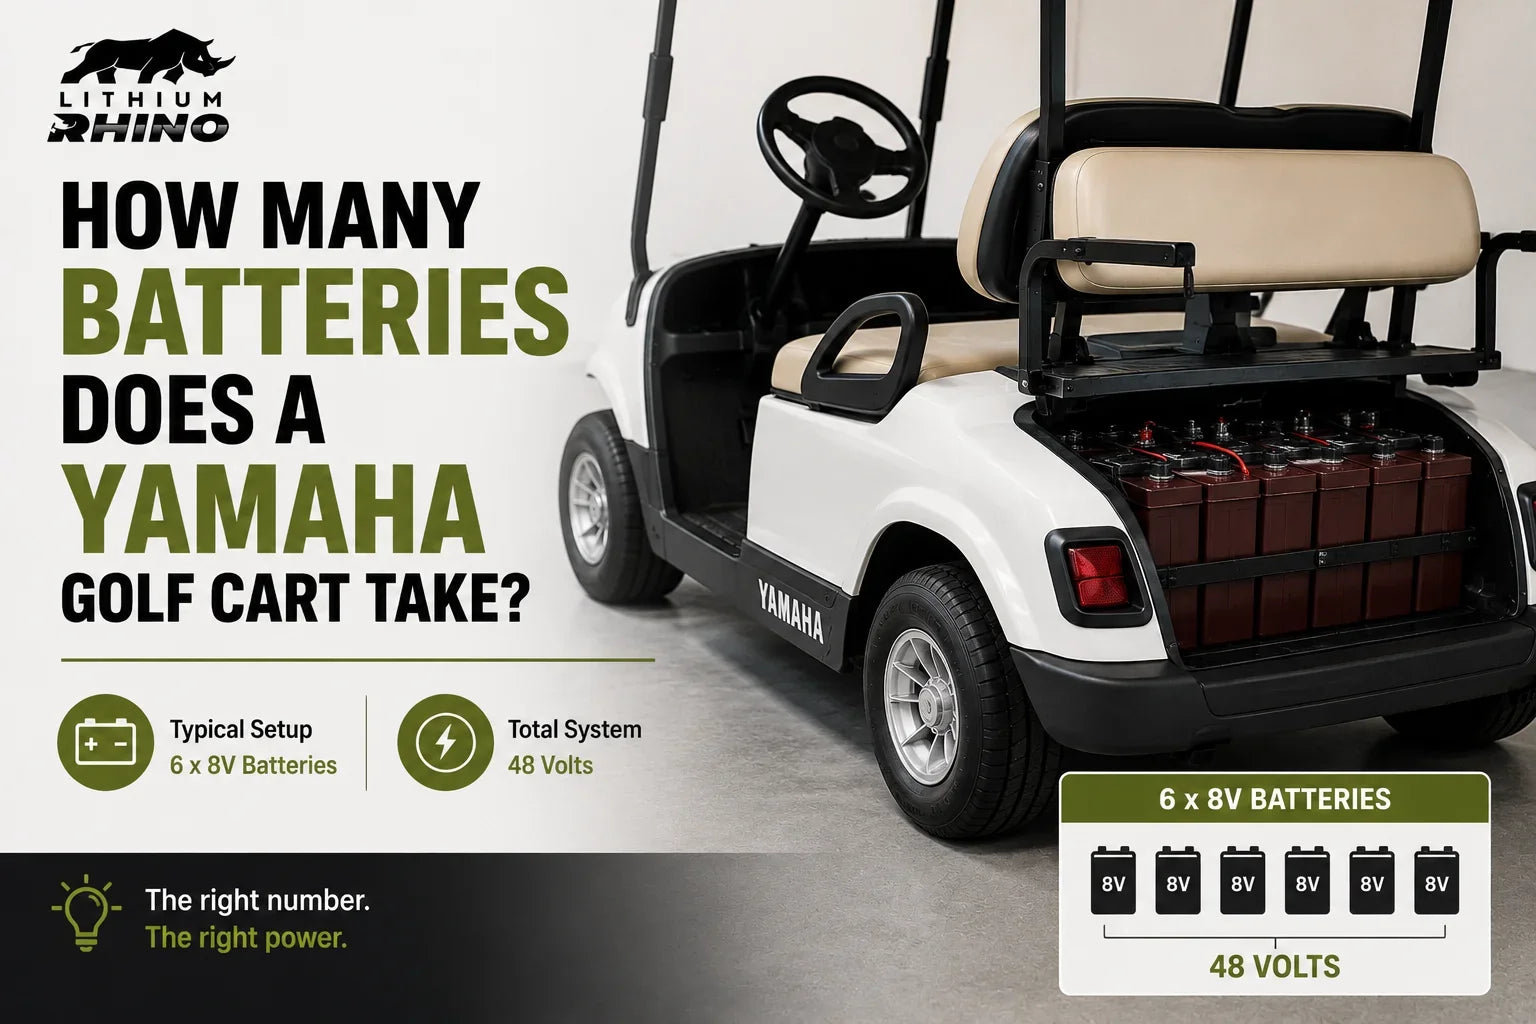
| DS New Style | 2000.5 to 2008.5 | 48V | Six 8V batteries | Curtis 48V IQ, some with OBC |
| DS Late Model | 2008.5 and later | 48V | Six 8V or four 12V batteries | Curtis IQ, OBC standard |
Three ways to confirm which one you have:
- Count the batteries and read the label. Six 6V batteries means 36V. Six 8V batteries or four 12V batteries means 48V. For a full breakdown by brand and voltage, see How Many Batteries Does a Golf Cart Take.
- Check the serial number on the frame rail just below the glovebox or dash. Club Car's letter prefix doesn't tell you voltage directly, but the plate confirms your model year, which you can then match to the table above.
- Test voltage at the charge port with a multimeter. A reading around 42V (resting) confirms 36V. A reading around 51V confirms 48V.
This step matters because a lithium pack built for 48V will not work safely on a 36V system, and vice versa. If your DS tests at 48V but shows signs of an OBC (on-board computer) module wired into the charging circuit, note that too. This is common on 2004 to 2010 DS carts and affects which charger setup you'll need.
Step 2: Choose the Right Lithium Kit for Your DS
Once voltage is confirmed, match it to a kit built for that system. Lithium Rhino's DS-compatible kits:
Browse the full range by voltage: 36V Conversion Kits or 48V Conversion Kits.
36V DS (Old Style, pre-2000)
| Kit | Price | Range | Best For |
|---|---|---|---|
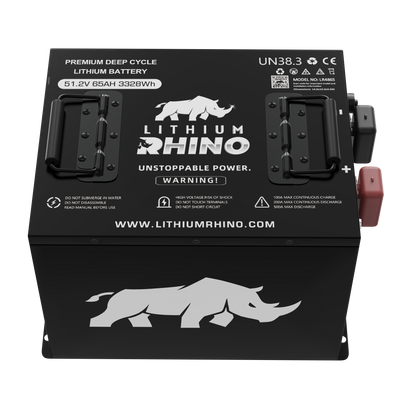
| 36V 65Ah Rhino Kit | $1,499 | 30+ miles | Standard use, stock motor |
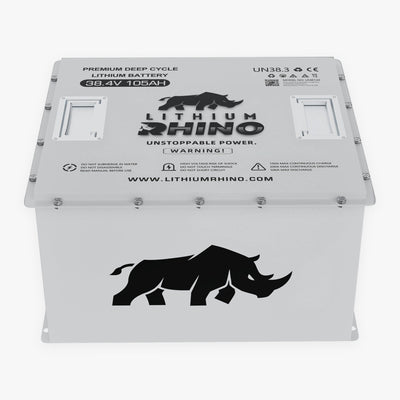
| 36V 105Ah Rhino Kit | $1,899 | 40 to 50 miles | Longer routes, hillier terrain |
48V DS (New Style and Late Model, 2000.5+)
| Kit | Price | Range | Best For |
|---|---|---|---|
| 48V 50Ah Rhino Kit | $1,299 | 20+ miles | Light, short-distance use |
| 48V 65Ah Rhino Kit | $1,699 | 27+ miles | Everyday driving |
| 48V 105Ah Rhino Kit | $2,299 | 50+ miles | Most popular for DS carts |
| 48V 105Ah CUBE Rhino Kit | $2,299 | 50+ miles | Tighter DS trays, compact fit |
| 48V 120Ah Rhino Kit (Self-Heated) | $2,749 | 60+ miles | Cold-climate DS owners |
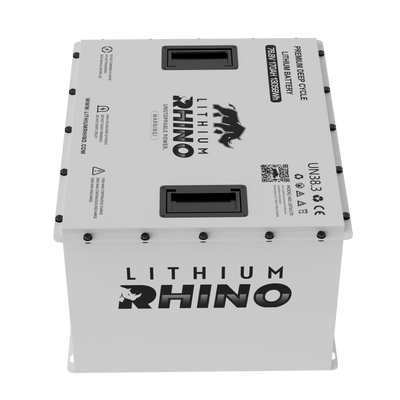
| 48V 170Ah Rhino Kit | $3,499 | 74+ miles | Performance-modified DS carts |
A single 48V lithium pack replaces the entire six-battery bank in one unit, so there's no wiring together of individual batteries the way there is with lead-acid. If you're unsure which capacity fits your driving habits, every kit includes a free 30-minute call with a Lithium Rhino tech to confirm compatibility before you install anything.
Step 3: What Makes the DS Tray Easier Than a Precedent
This is worth knowing before you start. The Club Car Precedent uses a molded plastic battery tub with internal dividers built for six individual 8V blocks, so a single lithium monoblock usually requires cutting or removing those dividers to sit flat.
The DS tray is different. It's a simple open metal tray with hold-down rods (Z-hooks) rather than a molded plastic tub. That means a single lithium pack typically drops straight in without any cutting, trimming, or bracket modification. Most DS conversions only need the hold-down hardware repositioned, which is included in the kit.
For the general tool list, safety steps, and install walkthrough that apply across every cart brand, see our full How to Convert a Golf Cart to Lithium Batteries guide. The steps below cover what's specific to the DS.
Step 4: Remove the Factory Lead-Acid Batteries
- Take photos of the existing wiring from multiple angles before touching anything. This is your reference if a connection question comes up later.
- Disconnect the main negative cable first, then the main positive cable.
- Disconnect the series cables linking each individual battery. Set these aside, you will not reuse them.
- Remove the Z-hook hold-down rods or bracket securing the battery bank.
- Lift the batteries out one at a time. A 36V bank runs 40 to 60 lbs per battery; a 48V bank runs 60 to 70 lbs per battery. Use a lifting strap and get a second person for the heavier packs.
- Wipe down the tray and inspect the main cables running to your controller. Clean any corrosion with a wire brush and replace cables that look cracked.
Step 5: Install the Lithium Battery
- Set the lithium pack into the cleaned DS tray with terminals facing your cart's main cable run.
- Secure it using the included mounting strap or the repositioned Z-hook hardware.
- Connect the negative cable first, then the positive cable, tightening both firmly.
- Plug in the included charge port adapter, which connects to your DS's existing charge receptacle, no exterior modification needed.
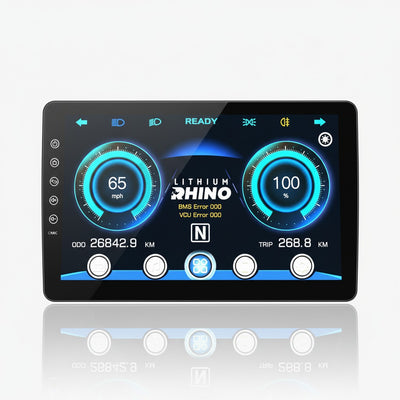
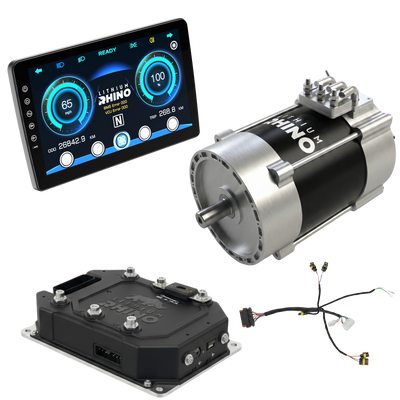
- Mount the included LCD screen to the dash and connect the monitoring cable. This replaces your factory lead-acid gauge, which won't read lithium voltage curves accurately.
Step 6: Handle the OBC Question (2004 to 2010 DS Carts)
If your DS was built with Club Car's OBC (on-board computer) charging system, this is the step most guides skip and the one that causes the most post-install issues.
A DS without OBC uses a standard 48V automatic charger and works with the included Lithium Rhino smart charger with no extra steps. A DS with OBC expects a handshake signal from an OBC-specific charger. If you're unsure whether your DS has OBC, check for a small module wired inline between the charge port and the battery pack, or ask during your free tech call before installing. Getting this identified upfront avoids a charger that won't initiate.
Step 7: Charge, Pair the App, and Test Drive
Plug in the included smart charger, calibrated specifically for LiFePO4 chemistry. A full charge from empty takes about 4 hours, compared to 8 to 12 hours for the old lead-acid bank.
Pair the Bluetooth app to monitor state of charge, voltage, and cell temperature in real time. Then take a short test drive and confirm smooth acceleration, an accurate LCD reading, and no warning codes. If everything checks out, the conversion is complete.
Why DS Owners Are Converting to Lithium
- Weight drop: a full 48V lead-acid bank on a DS weighs 250 to 360 lbs. A Lithium Rhino 48V pack weighs 40 to 63 lbs, which noticeably improves acceleration and handling on a cart that's been carrying that weight for years.
- Zero maintenance: no watering, no terminal cleaning, no equalization charges on the DS's aging six-battery bank. See How to Maintain Your Lithium Battery-Powered Golf Cart for what upkeep actually looks like after conversion.
- Steady power: lead-acid sags as it drains, which is especially noticeable on older DS carts with worn motors. Lithium holds voltage flat from full down to near empty.
- One warranty instead of six failure points: a six-battery lead-acid bank means six chances for one bad cell to drag down the whole pack. A single lithium unit removes that risk entirely, backed by an 8-year warranty (see the full Warranty Deep Dive for what's actually covered).
Still weighing the upfront cost against a lead-acid replacement? Is a Lithium Golf Cart Battery Worth the Cost breaks down the real numbers. For a full lifespan and cost comparison across brands, see How Long Do 48 Volt Golf Cart Batteries Last, and for full pricing context see How Much Do Golf Cart Batteries Cost.
Frequently Asked Questions
Can I convert a 36V Club Car DS to lithium, or only 48V models?
Both. Lithium Rhino builds dedicated 36V kits for Old Style DS carts (pre-2000) and 48V kits for New Style and Late Model DS carts (2000.5 and later). The voltage of the kit must match your cart exactly.
Do I need to modify the DS battery tray to fit a lithium pack?
Usually not. Unlike the Precedent's molded plastic tub, the DS uses an open tray with hold-down rods, so a single lithium battery typically drops in without cutting or trimming.
How do I know if my Club Car DS has OBC?
Look for a small inline module between your charge port and battery pack, most common on 2004 to 2010 DS models. If present, confirm compatibility with your charger during your free tech call before installing.
Can I use my old lead-acid charger with a lithium battery?
No. Lead-acid chargers use a different charge profile and can damage a lithium battery or void your warranty. Every Lithium Rhino kit includes the correct smart charger matched to your DS's voltage.
How long does a Club Car DS lithium conversion take?
Most DS owners complete the swap in 45 minutes to two hours. The open tray design makes it faster than a Precedent conversion in most cases.
Will a lithium battery work with my DS's stock controller?
In most cases, yes. Lithium's steady voltage output is compatible with the Curtis controllers used across DS model years. If your DS has a heavily modified or aftermarket controller, confirm compatibility during your free tech call.
Find the Right Kit for Your DS
Confirm your voltage, match it to the table above, and every Lithium Rhino kit ships with the battery, smart charger, LCD screen, wiring, and mounting hardware included, backed by an 8-year warranty.

Leave a comment
This site is protected by hCaptcha and the hCaptcha Privacy Policy and Terms of Service apply.