

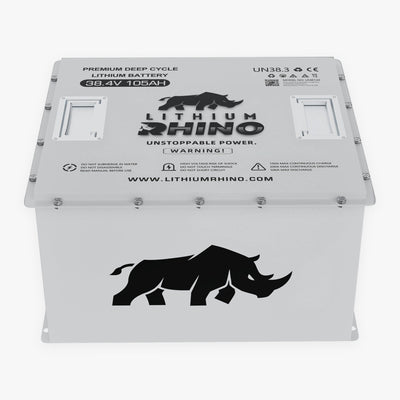
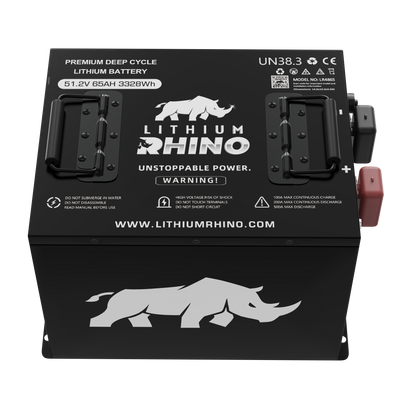
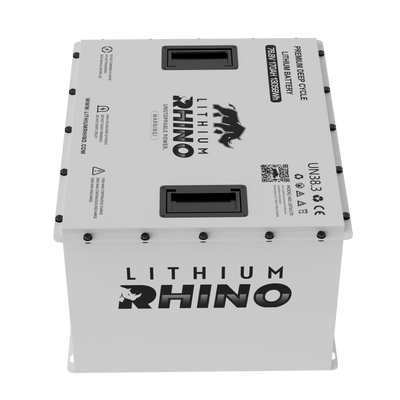
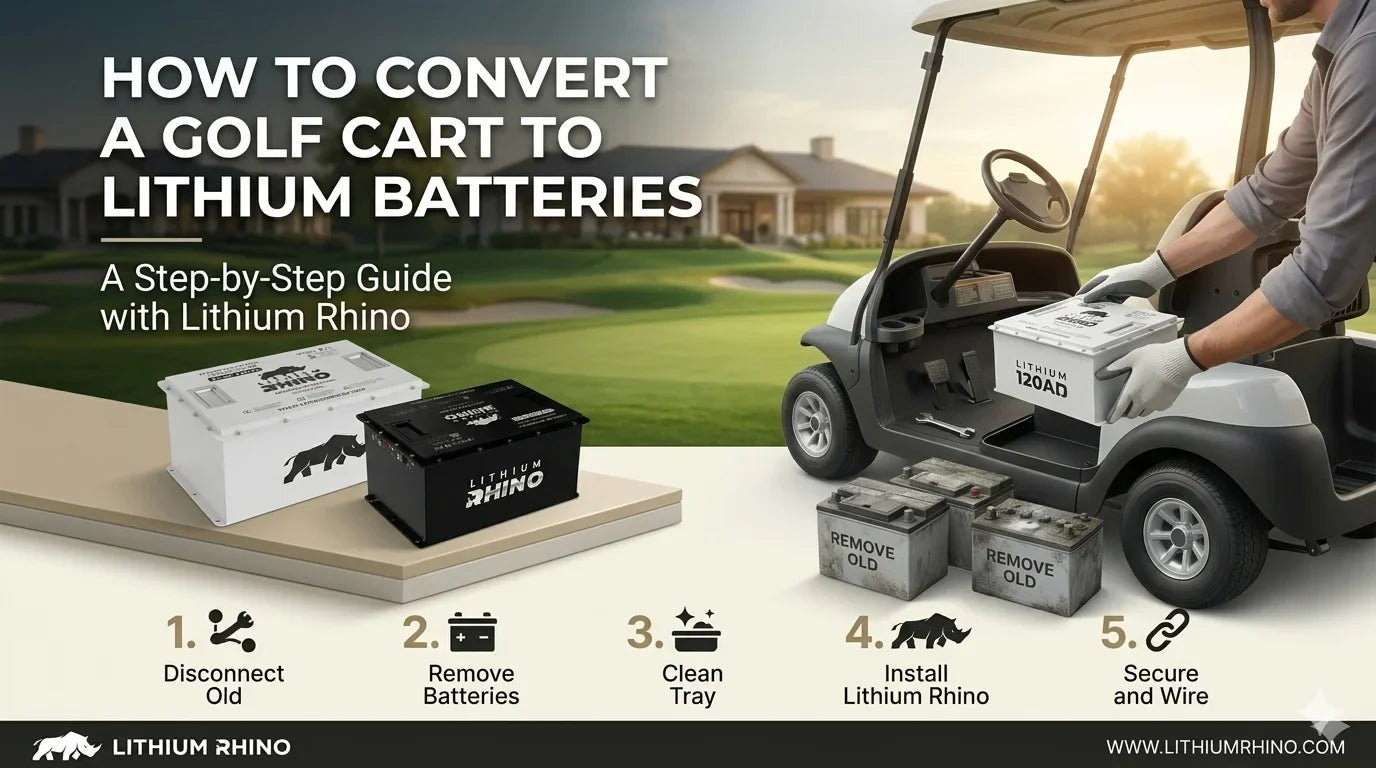
Converting a golf cart to lithium batteries is simple. Remove your old lead-acid batteries, drop in a Lithium Rhino conversion kit, connect the main cables, mount the LCD screen, and plug in the smart charger. Most conversions take under 60 minutes with no special tools or electrical experience required. The kit includes everything battery, charger, wiring, hardware, and a free tech support call.
But to make sure your conversion goes smoothly from start to finish, this guide walks you through every step from choosing the right kit for your cart's voltage to the exact installation process, so you can make the switch with total confidence.
Step 1: Determine Your Golf Cart's Voltage
Before you pick a lithium conversion kit, you need to know your cart's voltage system. This is the most critical step, your lithium battery must match your cart's operating voltage.
How to find your cart's voltage:
The easiest way is to count your existing batteries and multiply:
|
Battery Count |
Battery Voltage |
Total System Voltage |
|
6 batteries × 6V |
= |
36V system |
|
3 batteries × 12V |
= |
36V system |
|
4 batteries × 12V |
= |
48V system |
|
6 batteries × 8V |
= |
48V system |
|
8 batteries × 6V |
= |
48V system |
|
6 batteries × 12V |
= |
72V/76V system |
You can also check:
- Your cart's owner manual
- The sticker or label on the existing battery charger (it will say 36V, 48V, or 72V)
- The cart's controller or solenoid, which often shows voltage rating
Most modern carts, EZ-GO TXT, Club Car Precedent/Tempo, Yamaha Drive/Drive2, ICON run on 48V. Older carts from the 1980s–2000s often run on 36V. High-performance builds and some newer models use 72V or 76V.
Step 2: Choose the Right Lithium Rhino Conversion Kit
Once you know your voltage, the next decision is capacity, how many amp-hours (Ah) do you want? More Ah = more range per charge.
36V Lithium Rhino Kits
|
Kit |
Price |
Range |
Best For |
|
$1,499 |
30+ miles |
Standard 36V carts, lighter use |
|
|
$1,899 |
40–50 miles |
Maximum range on 36V systems |
48V Lithium Rhino Kits
|
Kit |
Price |
Range |
Best For |
|
$1,299 |
20+ miles |
Budget entry, stock/standard carts |
|
|
$1,699 |
27+ miles |
Everyday use, neighborhood and course |
|
|
$2,299 |
50+ miles |
Most popular — best all-round kit |
|
|
$2,299 |
50+ miles |
Compact build for tighter battery trays |
|
|
$2,749 |
60+ miles |
Cold climates, year-round riding |
|
|
$3,499 |
74+ miles |
Max range, performance builds |
76V Lithium Rhino Kits
|
Kit |
Price |
Range |
Best For |
|
$3,199 |
60+ miles |
72V system upgrades |
|
|
$4,199 |
80+ miles |
Ultimate performance builds |
Not sure which kit fits your cart? Every Lithium Rhino purchase includes a free 30-minute video call with a certified tech who can confirm compatibility before you install anything.
Step 3: Gather Your Tools
One of the biggest advantages of a Lithium Rhino conversion is that everything you need for installation is included in the kit. There's no trip to the hardware store, no sourcing parts separately.
What's included in every Lithium Rhino kit:
- Lithium battery unit with intelligent BMS
- Ultra-fast 25-amp smart charger
- LCD touch screen & mount
- Charge port adapter
- Heavy gauge wiring & cables
- Mounting hardware, straps & drill bit
- Lead-acid removal strap
- Safety gloves & glasses
- Bluetooth app access
Additional tools you'll want on hand:
- Adjustable wrench or socket set (10mm and 13mm most common)
- Wire brush (for cleaning any terminal corrosion on your cart's main cables)
- Zip ties (for cable management)
- Phone or tablet (to set up Bluetooth monitoring app after install)
- Camera or phone (take photos of existing battery wiring before you start this is important)
Step 4: Safety First, Before You Touch Anything
Working with any battery system requires basic safety precautions. These steps take two minutes and matter:
- Put on the included safety gloves and glasses before starting
- Make sure your cart is parked on a flat surface with the parking brake engaged
- Do not smoke or use open flame near the battery area
- Ensure the cart's key is removed and the cart is powered off
- Keep metal tools away from battery terminals to prevent accidental short circuits
Step 5: Remove Your Old Lead-Acid Batteries
This is the heaviest part of the job literally. A full 48V lead-acid pack weighs 250–360 lbs across 4 to 8 individual batteries. Take your time and use the included lead-acid removal strap.
Step-by-step lead-acid removal:
- Photograph your existing wiring Before disconnecting anything, take clear photos of your battery pack from multiple angles. This gives you a reference if you have any questions during reassembly. It is an important step that many people skip and later wish they hadn't.
- Disconnect the main negative cable first Always disconnect negative (black/–) before positive (red/+). Locate the main negative cable that runs from your battery pack to your cart's controller or frame, and disconnect it using your wrench.
- Disconnect the main positive cable After the negative is disconnected, remove the positive (red/+) main cable.
- Disconnect all inter-battery cables Remove the cables that connect each individual battery to the next in the series chain. Set these aside — you will not need them after the conversion.
- Remove any hold-down brackets or mounting straps Most carts use L-brackets or rubber straps to hold the battery pack in place. Remove these now.
- Lift out the lead-acid batteries one at a time Use the included lead-acid removal strap, hook it under each battery handle and lift straight up. These batteries are heavy (40–70 lbs each), so lift with your knees. Having a second person on standby helps significantly.
- Clean the battery tray Once all the old batteries are out, wipe down the tray with a damp cloth. Inspect the main positive and negative cables that connect to your cart's controller. If there's visible corrosion, clean it with a wire brush. Replace any cables that look cracked or damaged.
Step 6: Install the Lithium Rhino Battery
With the tray clean and clear, it's time to drop in your new Lithium Rhino battery. This is where the simplicity of a drop-in conversion kit becomes very clear.
- Position the battery in the tray Lower the Lithium Rhino battery into the tray. Most kits are designed to fit directly into the existing battery compartment with no modifications needed. Position it so that the positive and negative terminals are accessible and facing toward your cart's main cable connections.
- Secure with the provided mounting hardware Use the included mounting strap and/or L-brackets to secure the battery in the tray. Use the included drill bit if pilot holes are needed for your specific cart model. The battery should be snug and not able to shift during driving.
- Connect the negative cable first Attach your cart's main negative cable to the battery's negative terminal. Tighten firmly with your wrench a l,oose connection causes voltage drop and poor performance.
- Connect the positive cable Attach your cart's main positive cable to the battery's positive terminal. Tighten firmly.
- Connect the charge port adapter The included charge port adapter plugs into your cart's existing charge receptacle and connects to the Lithium Rhino charger. This allows you to charge using your cart's existing charge port, no modifications needed to the exterior of the cart.
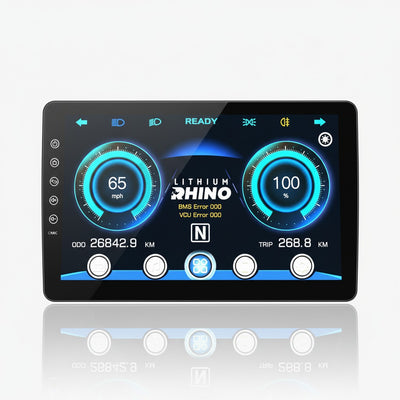
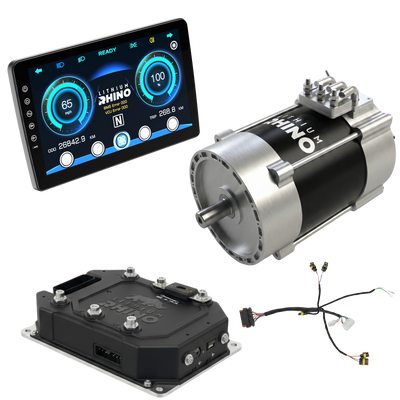
- Mount the LCD touch screen The included LCD touch screen mounts to your dashboard or dash panel using the included bracket. Route the monitor cable to the battery's monitoring port and connect it. This screen shows real-time battery percentage, voltage, and key performance data.
Step 7: Connect the Smart Charger
Your Lithium Rhino kit includes a 25-amp smart charger specifically calibrated for LiFePO4 chemistry. Do not use your old lead-acid charger with a lithium battery, the charge profile is different and using the wrong charger can damage the battery and will void your warranty.
- Plug the smart charger into the charge port adapter
- Connect the other end to a standard 110V wall outlet
- The charger will begin charging automatically and shut off when the battery reaches full charge, no overcharging risk
A full charge from empty takes approximately 4 hours. Lead-acid typically requires 8–12 hours. You'll notice the difference immediately.
Step 8: Set Up the Bluetooth App
Every Lithium Rhino battery includes Bluetooth connectivity that pairs with a free smartphone app. This lets you monitor:
- Real-time state of charge (%)
- Current voltage
- Discharge current
- Cell temperature
- Charge/discharge history
- BMS status and alerts
Download the app, open Bluetooth on your phone, and pair with your battery. Setup takes about two minutes and gives you total visibility into your battery's health from your phone at any time.
Step 9: Test Drive
Before anything else, take a short test drive. Here's what to confirm:
- Cart powers on normally with the key
- Acceleration feels smooth and responsive (expect noticeably better than lead-acid)
- LCD screen shows accurate charge reading
- No error codes or warning lights
- Bluetooth app shows correct data
- No unusual noises from the battery compartment
If everything checks out, congratulations, your golf cart lithium battery conversion is complete.
Why Convert Your Golf Cart to Lithium Batteries?
Before diving into the how, let's quickly cover the why, because understanding what you're gaining makes the process feel even more worthwhile.
- Weight reduction: A full lead-acid 48V pack weighs 250-360 lbs. A Lithium Rhino 48V battery weighs 40–63 lbs. That's up to 300 lbs of dead weight removed from your cart, meaning faster acceleration, better handling, and less wear on your motor, tires, and frame.
- No more maintenance: No water fills. No terminal cleaning. No equalization charges. Zero. The intelligent BMS inside a lithium battery handles everything automatically.
- Dramatically more range: Lead-acid gives you 15–25 miles per charge, shrinking year after year. Lithium Rhino delivers 20 to 75+ miles per charge and holds that range for the battery's entire lifespan.
- Consistent power: Lead-acid slows down as charge depletes. Lithium delivers the same voltage and the same speed from 100% charge down to about 20%. No more crawling home on holes 16, 17, and 18.
One investment, not a recurring cost: Lead-acid needs replacing every 4–6 years at $800–$1,500+ a cycle. A Lithium Rhino conversion kit is backed by an 8-year warranty and rated for 6,000+ charge cycles over 10–15 years of real-world use.
For a full breakdown of lifespan and costs, check out our guide: How Long Do Golf Cart Batteries Last?
How Long Does a Golf Cart Lithium Conversion Take?
Most Lithium Rhino conversions take 45 minutes to 90 minutes from start to finish for a first-time installer. The biggest time variable is removing the old lead-acid batteries, especially on 8-battery packs.
Experienced installers or anyone who's done it once before typically complete the job in under 30 minutes.
For the most popular kit (48V 105Ah), Lithium Rhino has a full installation video available on their website that walks through every step in real time.
Is a Golf Cart Lithium Conversion Hard to Do?
Not at all. If you can change a tire or swap out a car battery, you can convert your golf cart to lithium. The Lithium Rhino kit is specifically designed for DIY installation every component is labeled, every cable is the right length, and the instructions are clear enough that no electrical experience is required.
The free 30-minute tech call included with every purchase is there for anyone who wants a certified installer walking them through the process live via video call. Most customers who use this service are done before the call even ends.
Which Golf Cart Brands Are Compatible?
Lithium Rhino conversion kits are compatible with virtually every major golf cart brand, including:
- EZ-GO: TXT, RXV, Express, Freedom, Valor
- Club Car: Precedent, Tempo, DS, Onward, Villager
- Yamaha: Drive, Drive2, G-Series, UMAX
- ICON: All models
- Bad Boy Buggies: All electric models
- Polaris EV/GEM: With appropriate voltage kit
- Most other 36V, 48V, and 72V/76V electric carts
Not sure if your specific cart model is compatible? Use the compatibility checker on lithiumrhino.com or book your free tech call.
Common Questions About Golf Cart Lithium Battery Conversion
Do I need to update my cart's controller or motor?
In most cases, no. Lithium delivers consistent voltage that actually helps existing motors perform better. High-performance users adding an AC motor upgrade can combine that project with their lithium conversion for maximum results.
Can I use my existing lead-acid charger?
No. Lead-acid chargers use a different charge profile than lithium batteries require. Using a lead-acid charger on a lithium battery risks overcharging and will void your warranty. Every Lithium Rhino kit includes the correct smart charger.
Do I need to change my battery meter?
Your cart's existing battery meter is calibrated for lead-acid voltage curves and won't read lithium accurately. The included LCD touch screen and Bluetooth app replace this function with accurate real-time monitoring designed specifically for your lithium battery.
Can I mix lithium and lead-acid batteries?
Never. Mixing battery chemistries causes voltage imbalances, uneven charging, and serious safety risks. Always replace your entire pack with lithium at once which is exactly what a Lithium Rhino single-unit conversion does.
What happens if I have a problem during installation?
Call Lithium Rhino's tech support. Every kit includes a free 30-minute video call with a certified tech, and the team is available to help with any installation question before, during, or after setup.
Will converting to lithium increase my cart's top speed?
The weight reduction alone up to 300 lbs, noticeably improves acceleration. Lithium also doesn't suffer voltage sag as charge depletes, so your cart maintains speed throughout the full discharge cycle rather than slowing down as the battery drains.
Is a golf cart lithium conversion worth it?
For any cart owner planning to keep their cart for 3+ more years, yes, without question. The performance gain is immediate, the maintenance is eliminated, and the long-term cost is significantly lower than continuing to replace lead-acid. For more detail, see our full breakdown: How Much Do Golf Cart Batteries Cost?
The Easiest Golf Cart Lithium Conversion Available
There are a lot of lithium batteries on the market. What makes Lithium Rhino different is how completely they've engineered the conversion experience from end to end:
- Everything included: battery, charger, screen, wiring, hardware, safety gear, removal strap
- Drop-in design: fits your existing tray with no cart modifications
- Free tech call: certified installer walks you through it live
- 8-year warranty: 6 years full coverage, 2 years with $500 service option
- 6,000+ charge cycle life: over 10–15 years of real-world use
- Free shipping: delivered to your door in a reinforced hazardous goods crate
- Bluetooth app monitoring: real-time battery data from your phone
The conversion takes less than an hour. The results last over a decade.
👉 Find Your Lithium Rhino Conversion Kit, enter your cart's voltage and choose your range. Your kit ships free.

Leave a comment
This site is protected by hCaptcha and the hCaptcha Privacy Policy and Terms of Service apply.