


Introduction
If you're still running lead-acid batteries on your trolling motor, you already know the frustration: power fades halfway through the day, batteries are dead weight in the bow, and you're back at the dock charging before you're ready to be. Switching to lithium is the single biggest upgrade most anglers make — and once you do it, you'll never go back.
This guide covers everything you need to convert your trolling motor to lithium: how to size your battery bank, what to look for in a battery, and how to make the swap correctly.
Why Lithium Is Built for Trolling Motors
Trolling motors are a uniquely demanding load — they run for hours at varying speeds, pulling anywhere from 5 to 60+ amps depending on thrust setting and conditions. Lead-acid batteries struggle with this in two key ways:
- Voltage sag: As a lead-acid battery depletes, voltage drops — and your trolling motor loses thrust. Lithium holds a flat voltage curve all the way to ~20% remaining, so your motor runs at full power until the battery is nearly empty
- Usable capacity: You should only discharge lead-acid to 50% to protect lifespan. Lithium safely goes to 80–100%, meaning a 100Ah lithium battery gives you the real-world equivalent of a 180–200Ah lead-acid battery
- Weight: A 100Ah lithium battery weighs roughly 25–30 lbs versus 60–70 lbs for a comparable lead-acid — a huge deal for bow-mount setups where weight affects boat trim and handling
- Recharge speed: Lithium charges 3–5x faster, so overnight charging is rarely needed — a few hours at the dock is enough
Step 1: Size Your Battery Bank
Trolling motor batteries are sized by amp-hours (Ah). To figure out what you need:
- Find your motor's amp draw — check the spec sheet for your motor (e.g., a Minn Kota Terrova 80 draws ~46A at full speed)
- Estimate your run time — how many hours per day do you run the motor, and at what average speed? Most anglers run at 30–50% speed the majority of the time
- Calculate: Amps × Hours = Ah needed. Add 20% reserve so you're not running the battery to zero
Example: Running a 55 lb thrust motor at an average draw of 20A for 6 hours = 120Ah needed. A single 100Ah lithium + a 50Ah lithium, or a single 120Ah lithium, covers that comfortably.
Voltage: Most trolling motors run on 12V (up to ~55 lb thrust), 24V (55–80 lb thrust), or 36V (80+ lb thrust). Higher voltage systems require batteries wired in series — two 12V batteries for 24V, three for 36V.
Step 2: Choose the Right Lithium Battery
For trolling motors, LiFePO4 (lithium iron phosphate) is the correct chemistry — it's stable, safe, and purpose-built for deep-cycle discharge. Look for:
- Built-in BMS: Protects against over-discharge, overcharge, and short circuits. Critical for trolling motor use where batteries can be deeply cycled daily
- High continuous discharge rating: Your battery must handle your motor's peak amp draw without tripping the BMS. Check that the battery's continuous discharge rating exceeds your motor's max draw
- Waterproof or water-resistant housing: Bow compartments get wet — IP67 or better is ideal
- Proper terminal type: Most trolling motor wiring uses ring terminals on SAE or M8 posts — confirm compatibility
Step 3: Check Your Charger
Lithium batteries require a lithium-compatible charger. A standard lead-acid charger will not fully charge a lithium battery and can cause long-term damage.
- Onboard / shore charger: Must have a LiFePO4 or lithium charging profile. Many modern marine chargers (Minn Kota, NOCO, Victron) include lithium modes
- Charging voltage: LiFePO4 charges to ~14.4–14.6V per 12V battery — confirm your charger hits this range in lithium mode
- Multi-bank chargers: If you're running a 24V or 36V system with multiple batteries, use a multi-bank charger that charges each 12V battery independently
Step 4: Remove Your Old Batteries
- Turn off your trolling motor and disconnect it from the battery
- Disconnect the negative cable first, then the positive
- Remove any hold-down straps or brackets
- Lift out the old batteries — lead-acid group 27/31 batteries weigh 60–70 lbs each, so have help ready
- Recycle them at any marine dealer or auto parts store
Step 5: Install Your Lithium Batteries
- Place lithium batteries in the tray — they'll likely have extra room due to the smaller footprint
- Secure with hold-down hardware so they don't shift underway
- For 12V systems: Connect your trolling motor leads directly to the battery terminals (positive to positive, negative to negative)
- For 24V systems: Connect battery 1 positive to your motor's positive lead, battery 1 negative to battery 2 positive, and battery 2 negative to your motor's negative lead
- For 36V systems: Extend the series chain with a third battery using the same pattern
- Use marine-grade tinned copper wire — trolling motors pull high current and undersized wire creates heat and voltage drop
Step 6: Test on the Water
Before your first full day out:
- Charge to 100% and confirm your charger completes the cycle without errors
- Run the motor at full speed briefly and check for stable operation
- Monitor battery voltage during use — a healthy LiFePO4 under load should stay above 12.8V for most of the discharge cycle
- Check that your battery's state-of-charge indicator (if equipped) reads correctly
What Changes After the Conversion
- Full-day runtime without the power fade you're used to in the afternoon
- Better boat handling — less weight in the bow improves trim, especially on smaller bass boats and kayaks
- Faster charging — back at full charge in 2–3 hours instead of overnight
- Longer lifespan — 2,000–5,000 cycles versus 300–500 for lead-acid, meaning your lithium batteries will outlast 5–8 sets of lead-acid
Ready to Make the Switch?
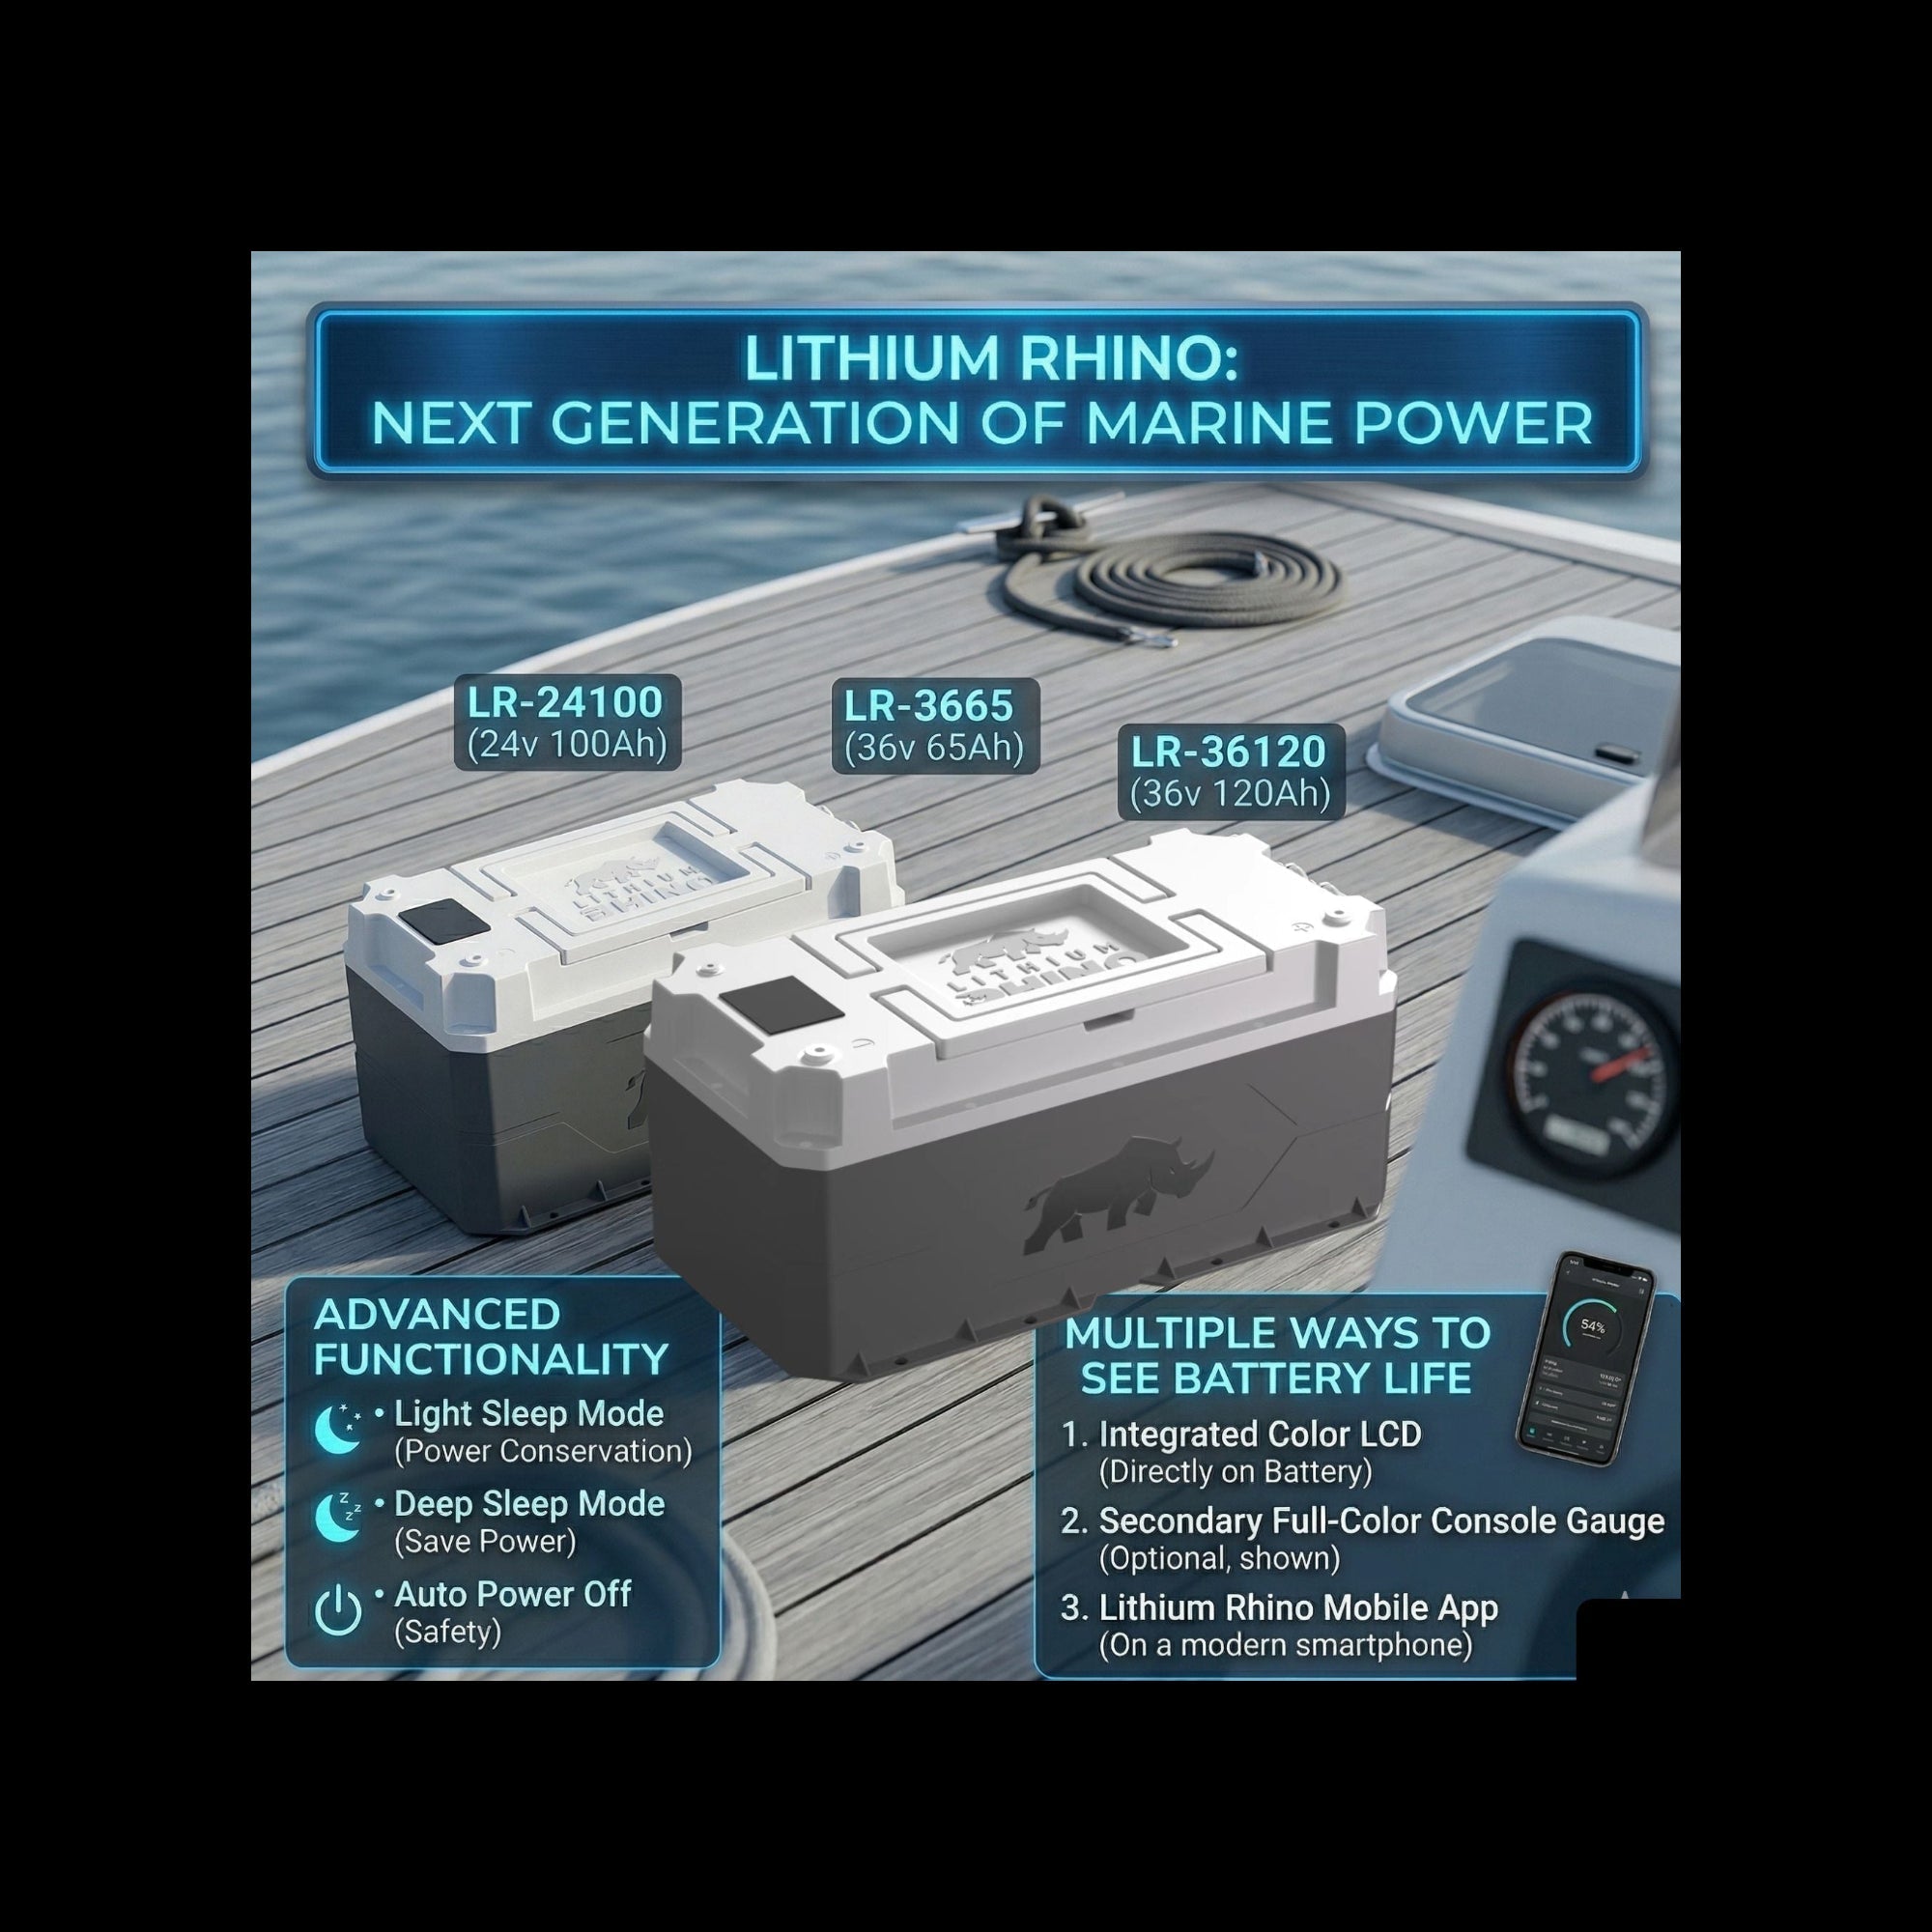
Explore our Marine Lithium Batteries — built for the demands of all-day trolling motor use. Not sure which battery fits your motor and voltage system? Contact our team and we'll spec it out for you.

Leave a comment
This site is protected by hCaptcha and the hCaptcha Privacy Policy and Terms of Service apply.